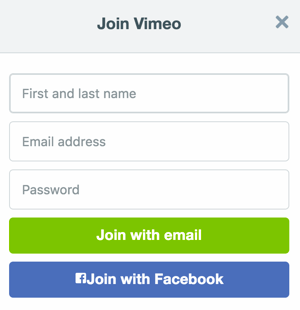
How to Use Facebook Login on Your Website. Allow website visitors to register with Facebook Login. Click Create App after logging into your Facebook developers account. Click Get Started next to Facebook Login. If your app asks for permission from website visitors to access information other than their email address, friend list, and public profile info, you’ll need approval from Facebook before you can start using the app. Upload a video that explains the Facebook login process on your website. Make sure you change the code and add the extra scopes. Facebook Login Registration Example: RevNGo Pointing out the advantages of social login and clearly explaining to visitors how their data is going to be used can significantly increase the number of people who register on your site with Facebook. On websites that use social logins, visitors can get through the process with just a few clicks. Do you use Facebook Login on your website?
Do you want more information about the people who log into your website?
Wondering how you can target your website visitors more effectively on Facebook?
When you let visitors log into your site with their Facebook profile, you can collect their demographic attributes and other characteristics.
In this article, you’ll discover how to add Facebook Login to your website.
#1: Choose Which Data to Collect
From musical tastes to work history, there are close to 50 different types of permissions you can request from your visitors with Facebook Login.
Although it may be tempting to collect as much information as you can from visitors’ Facebook profiles, asking for permissions is a double-edged sword. Each data field you request is likely to decrease the opt-in rate.
So focus on the data that will be most helpful to your business and only ask permission to access this information. Here are some permissions that could be useful:
If you collect visitors’ email addresses with Facebook, you can avoid misspellings or obtaining that special email address people use only for registrations. Plus, you’ll collect valid, working emails that will match with custom audience uploads to social ad networks, like Facebook Ads or Google AdWords.
Public Profile
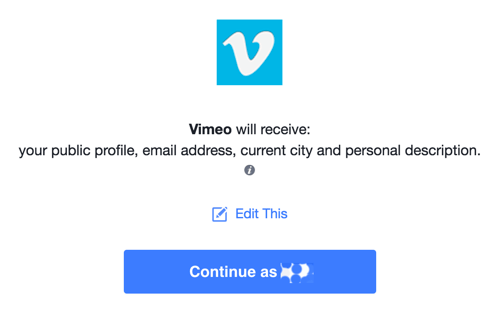
With access to visitors’ public profiles, you’ll collect visitors’ names, the languages they speak, their age group, and gender. Among other things, you can use this information to create more effective and personal marketing messages.
User Likes
Likes let you learn about your visitors’ interests and preferences, allowing you to provide a much better experience for them. For instance, if you’re an ecommerce site, you could use this information to recommend products your visitors would like or offer suggestions based on their favorite activities.
User Friends
With this permission, you can find out which of a visitor’s Facebook friends have registered at your site. This will help provide social proof and improve your recommendation engine.
Tip: If you call your visitors’ attention to the advantages of social login and clearly explain how their data will be used, they’ll be more likely to grant you the necessary permissions.
#2: Set Up Your Login App
After you decide which permissions you want to request from your visitors, you’ll need to build a Facebook application that can handle them. Fortunately, it’s not as complicated as it might sound.
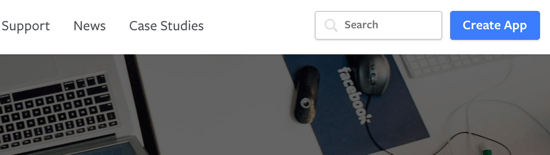
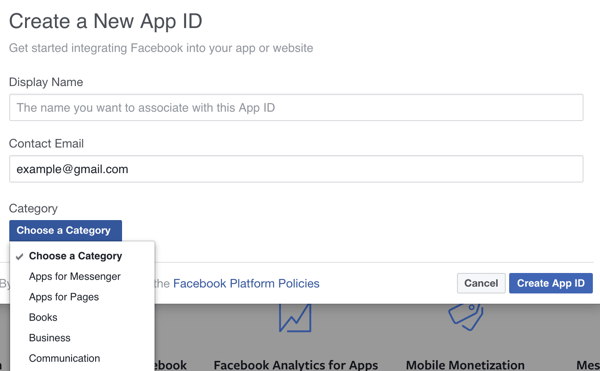
To get started, you’ll need to create a developers account on Facebook. To do this, navigate to developers.facebook.com and log in with your Facebook credentials. Then click Create App in the upper-right corner.
In the pop-up window, type in a name for your app and choose the category that best describes your website.
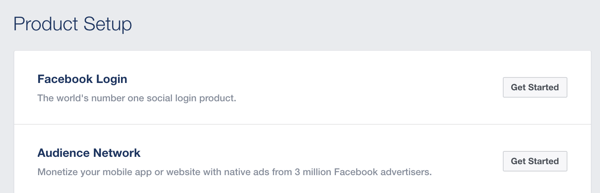
After you’ve successfully created your app (and gotten past the captcha), click the Get Started button for Facebook Login.
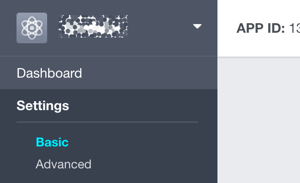
Next click Settings > Basic in the left sidebar.
Then add a link to the privacy policy and the terms of use on your website, and check your contact email.
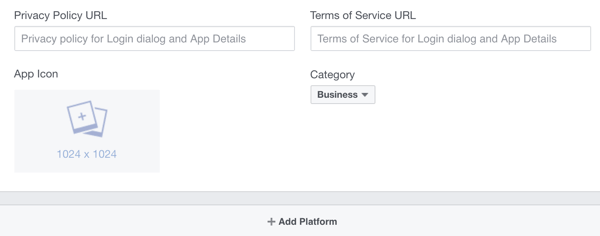
Click on +Add Platform and select the Website option.
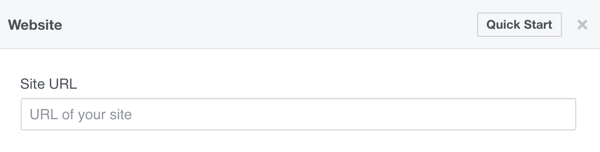
Add the URL of your site. Make sure you use the correct form of the URL (for example, http://mydomain.com); otherwise, the integration won’t work.
At this point, you can go ahead and publish your app. Don’t be concerned that no one will find your app at this point. You can publish it in the App Review menu (under Settings).
#3: Submit Your Login App for Review
The next step is to add extra permissions (development and app review as well).
If your app asks for permission from website visitors to access information other than their email address, friend list, and public profile info, you’ll need approval from Facebook before you can start using the app.
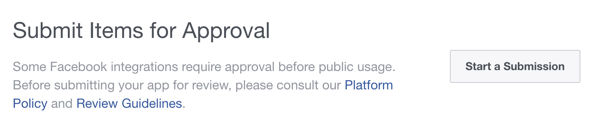
Here’s how to ask for permission to access user likes. First, navigate to App Review on your dashboard and click Start a Submission.
Scroll down and select…
COMMENTS