Add a background image to your Canva graphic. Add a color overlay to your Canva graphic. Include Text Use your brand fonts to add text over your photo. Add text to your Canva graphic. Now create a box over the whole canvas. Include Text Now it’s time to add the text in your own brand fonts. Add text to your DesignBold graphic. Choose a font for your DesignBold graphic. Create a new graphic in Google Slides. Create a box over the whole canvas.
Do you want a consistent look for your social media images?
Looking for tools that are easy to use?
Great-looking graphics are crucial to maintaining a consistent and quality brand image on social media.
In this article, you’ll discover how to use three free tools to create the perfect social media images.
#1: Canva
Canva is a well-known and respected free online design tool, so that’s where we’ll start. While you can buy premium graphics and photos on Canva, the four-step process described in this article doesn’t require you to pay anything. Happy days!
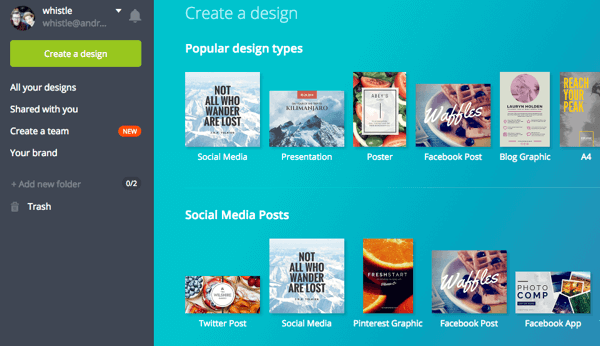
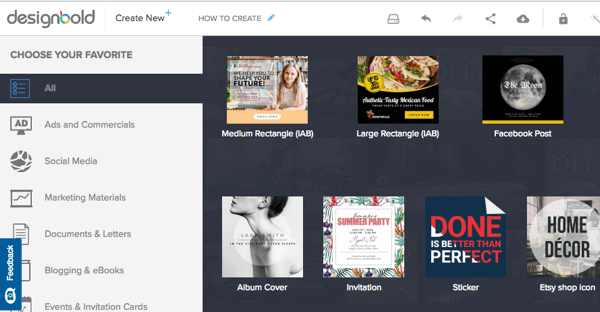
To get started, log in or sign up for Canva and you’ll see the view below. Now you need to choose the canvas size (the size/type of graphic you want to make).
If you want to create a graphic for a specific platform, choose the most appropriate canvas. However, if you want a one-size-fits-all solution, select the Social Media option, which is simply 800 x 800 pixels. It will work well on all of the main platforms including Instagram, Facebook, LinkedIn, and Twitter desktop.
Choose a Background Photo
You need a great photo to set the scene. It’s nice if the image is relevant, but to be honest, it doesn’t matter too much. You just want something that’s eye-catching.
You can search for photos on Canva, which will include some free and some premium photos that cost $1. There is, however, a Free Photos section, so look there first.
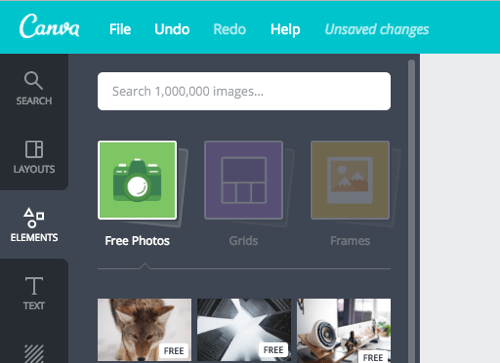
If you can’t find any photos you like, some sites for finding good free images (not cheesy stock photos) include Gratisography and Unsplash. The image of the gorilla hands in the example is from Gratisography.
After you choose a photo for your background, either click the Upload Your Own Images button or simply drag your photo from your computer to the browser. Then resize the image by clicking and dragging outward from the corners so that the photo fills up the entire canvas.
Add a Color Overlay
Now that you have your background, you want it to be in your brand colors. You can do that by putting a color overlay on it. It’s important you know your brand color hex codes, which are “#” followed by six characters. The hex code for the orange in the example is #ff9900. Ask your designer if you don’t know this code or use an online color picker tool to find out.
Next, create a box over the whole canvas, change the color of the box to one of your brand colors, and then turn down the transparency to around 50-70%, depending on the photo and the darkness of your brand color.
Include Text
Use your brand fonts to add text over your photo.
Here’s a rule: ALWAYS USE WHITE TEXT.
Unless your brand color is really light (like yellow or cream), white text always looks a million times better on colored backgrounds. If you do have a light brand color, use a really dark gray or brown instead of 100% solid black; this will look much better.
Canva has some nice built-in features for laying out text. Simply click on one of the layouts to add text to the canvas. You’ll want to resize the text box and center-align it if needed.
Click and highlight each element of the text box and change the font to your own brand font. Canva lets you use the whole Google Fonts range, which is great. You can upload your own non-Google font, but there’s a charge for that.
Simply change the text to say what you want and resize if needed. Try not to have too much text; short and punchy text performs much better.
Upload Your Logo
You want your logo in a format that works well on a colored background. If you don’t have this, ask your designer. You at least need a PNG file that has a transparent background, or even better, a white version!
To upload your logo, click Uploads on the left and then click the Upload Your Own Images button to choose your file or simply drag it in from your computer.
Add the logo to your design at the bottom under the text, and if you fancy, add your website address using the text feature. And voilà, you’re done. It’s time to download that beauty!
Click on the Download button in the top-right corner to download your image as a PNG, JPEG, or PDF. If you’re sharing your image on social media, PNG is best. If the image is for your website (perhaps a blog image), JPEG may be best. Only download in PDF for flyers, brochures, and things you’re planning to print.
#2: DesignBold
DesignBold is very similar to Canva, but it has a couple of different features and template styles (making it a nice alternative if you’re seeing lots of other people using your favorite Canva template). There’s a premium membership for added features, but for this tutorial, you don’t need to upgrade. You’ll be starting from a blank canvas to create your image.
Log into or sign up for DesignBold and you’ll see the view below. Now you’ll need to choose the canvas size (the size/type of graphic you want to make).
Again, if you want to create a graphic for a specific platform, choose the applicable canvas. Select the Social Media option, which is 800 x 800 pixels, for a one-size-fits-all solution. This works well on all of the main platforms including Facebook, Instagram, LinkedIn, and Twitter desktop.
Choose a Background Photo
To make the graphic more visually appealing, choose a fantastic photo for the background. Bold photography is great for this purpose, so find a stunning photo to set the scene. It’s nice if the photo is relevant, but it doesn’t matter too much. You just want something that’s eye-catching.
You can search for free photos on DesignBold or buy credits for premium photos.
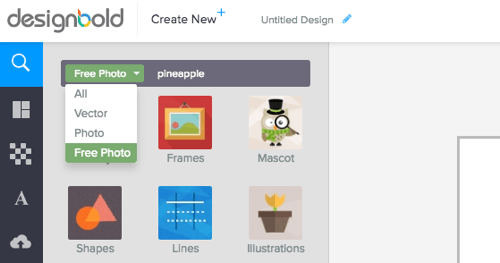
If you don’t find any photos you like, you can find good free images at sites like Gratisography and Unsplash. If you want to use your own photos, click the upload icon and then click…
COMMENTS