Google Analytics can help you understand all of this information and so much more. In just five easy steps, you can uncover insights about your website visitors and what is and isn’t working for them so you can improve user experience, increase conversions, and learn about the people who are interested in your business. Five Steps to Set Up Google Analytics for WordPress Sign Up For Google Analytics Install Your Plugin Authenticate Your Google Account Select the Profile You Want to Track Start Tracking How to Set Up Google Analytics for WordPress Depending on the Google Analytics plugin you choose, set up may differ slightly. The WordPress plugin library has several options, such as Google Analytics Dashboard for WP, MonsterInsights, WooCommerce for Google Analytics, and Analytics Cat. Your tracking ID and website tracking code will appear on the next page.Your tracking ID is included in your tracking code — this is what tells Google Analytics which account and property to send the data that is collected to. Once your plugin is installed, click “Settings” and then “Insights” to gain access to your new Google Analytics plugin. Now that you have installed your plugin, you’ll need to authenticate your Google account through WordPress so Google Analytics can access WordPress. Google will ask if you want to allow the Google Analytics Dashboard for WP plugin — or whatever plugin you chose — to access your information. You can view your Google Analytics data by heading to your Google Analytics dashboard through your Google account and clicking “Reporting”. Google Analytics for WordPress: What Can You Track?

Have you ever wondered what people actually do when they enter your WordPress website?
Have you thought about which website pages they tend to stay on longest, what campaigns bring them there, and which of your website pages covert the best?
Google Analytics can help you understand all of this information and so much more. By simply installing a Google Analytics plugin on your WordPress website, you can start collecting this data immediately. As is most things with WordPress, installing Google Analytics is a painless process.
In just five easy steps, you can uncover insights about your website visitors and what is and isn’t working for them so you can improve user experience, increase conversions, and learn about the people who are interested in your business.
Five Steps to Set Up Google Analytics for WordPress
- Sign Up For Google Analytics
- Install Your Plugin
- Authenticate Your Google Account
- Select the Profile You Want to Track
- Start Tracking
How to Set Up Google Analytics for WordPress
Depending on the Google Analytics plugin you choose, set up may differ slightly. The WordPress plugin library has several options, such as Google Analytics Dashboard for WP, MonsterInsights, WooCommerce for Google Analytics, and Analytics Cat.
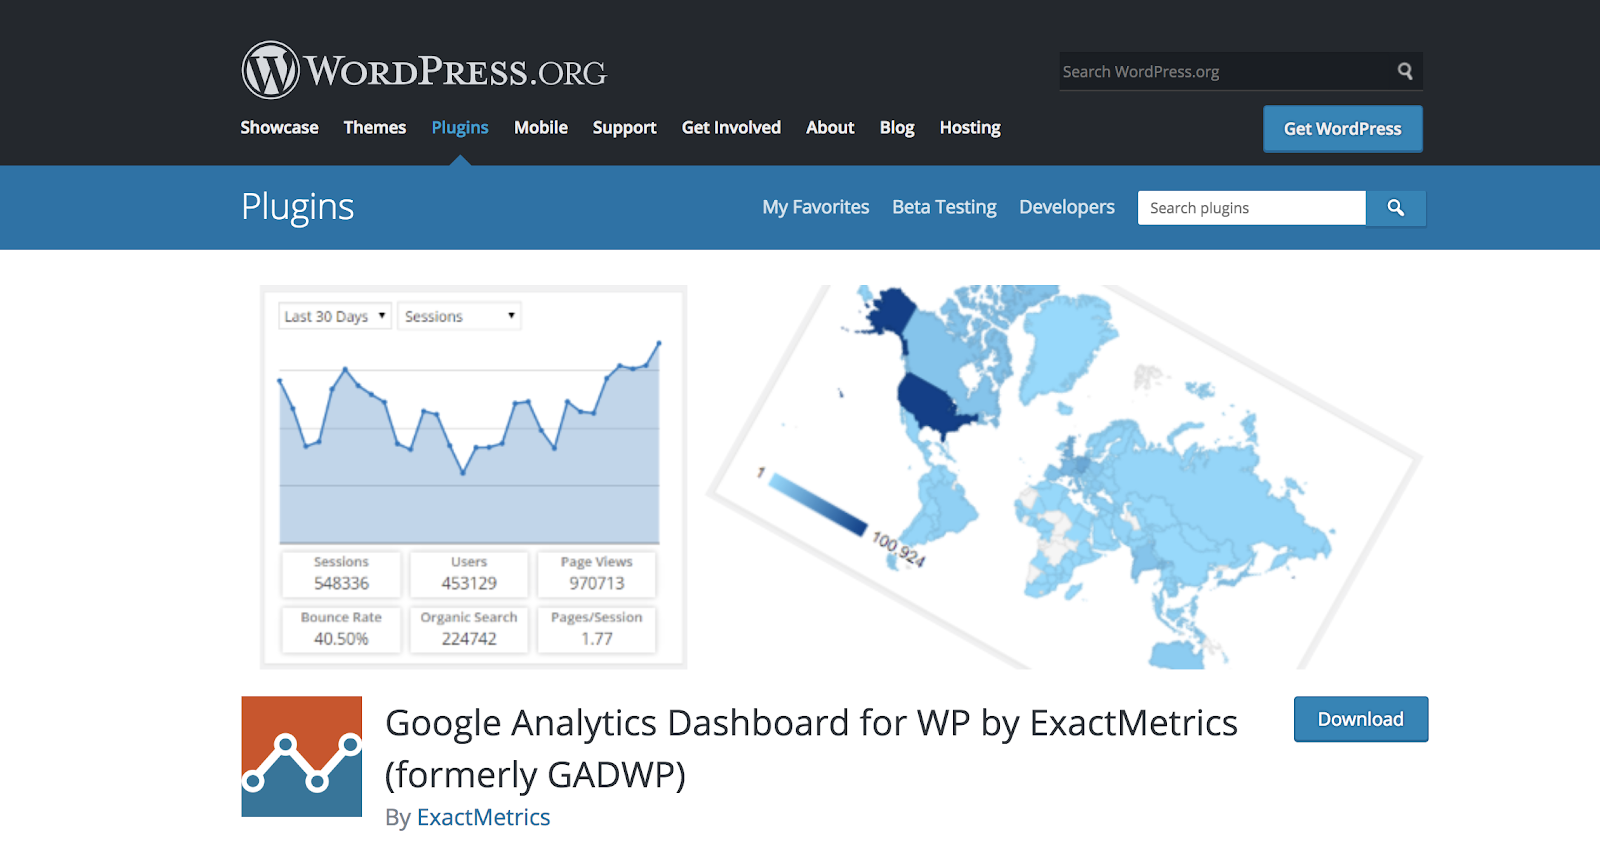
For the sake of this example, we’re going to review how to set up Google Analytics Dashboard for WP by ExactMetrics. No matter which plugin option you end up picking for your own WordPress website, the process will look fairly similar.
1. Sign Up For Google Analytics
The first thing you’re going to need to do is sign up for Google Analytics. If you already have a Google account, you’re off to a great start because that’s the only way you can actually use Google Analytics.
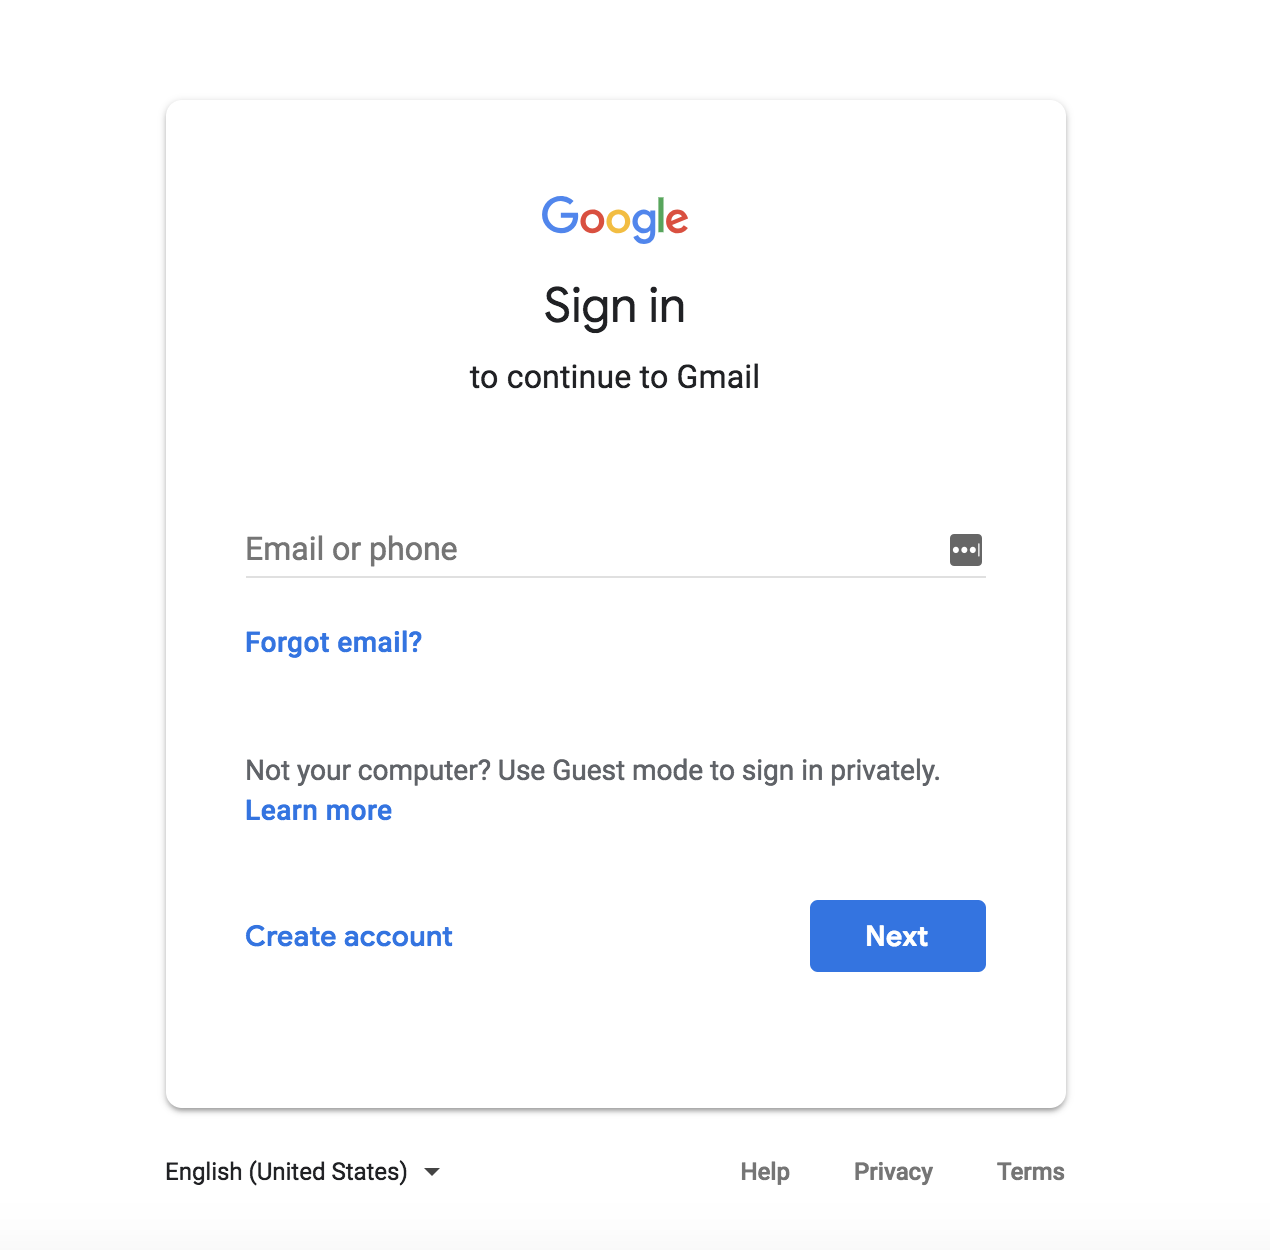
Either sign up for or sign into your Gmail account.
Then, head to the Google Analytics sign up page and click “Sign Up”.
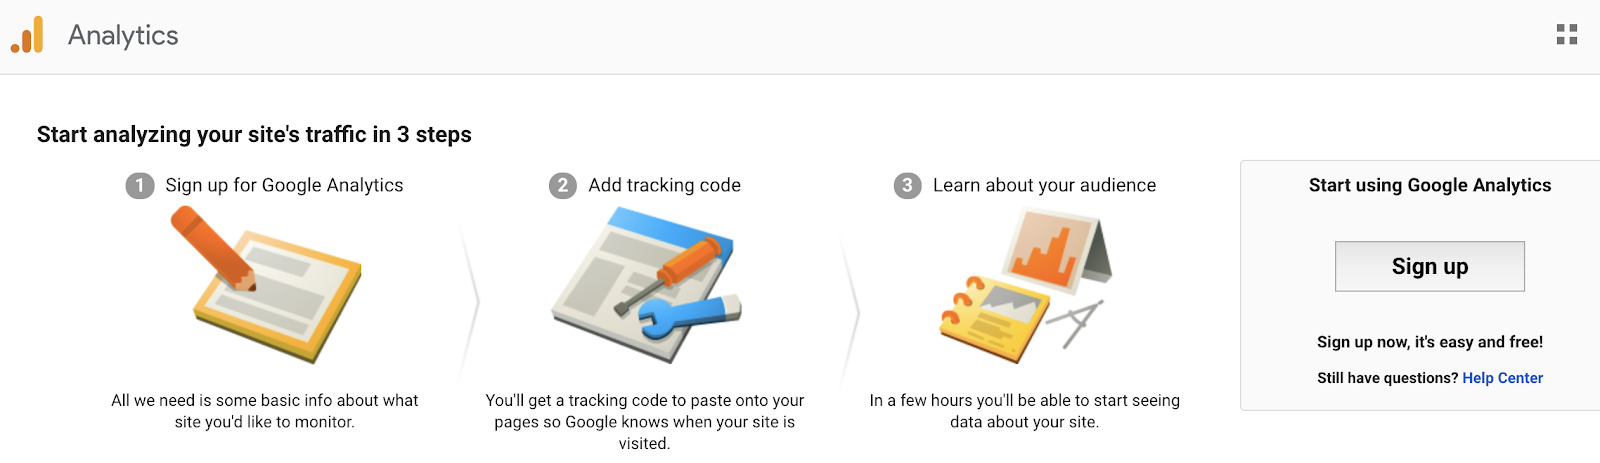
You’ll be given the option to choose between using Google Analytics for your “Website” or “Mobile app”. We’re going to stick with “Website” for this example.
Complete the necessary information — Your “Account Name” will be the Google Analytics profile name for your website. You can choose whatever name you like, but best practice is to use your domain name.
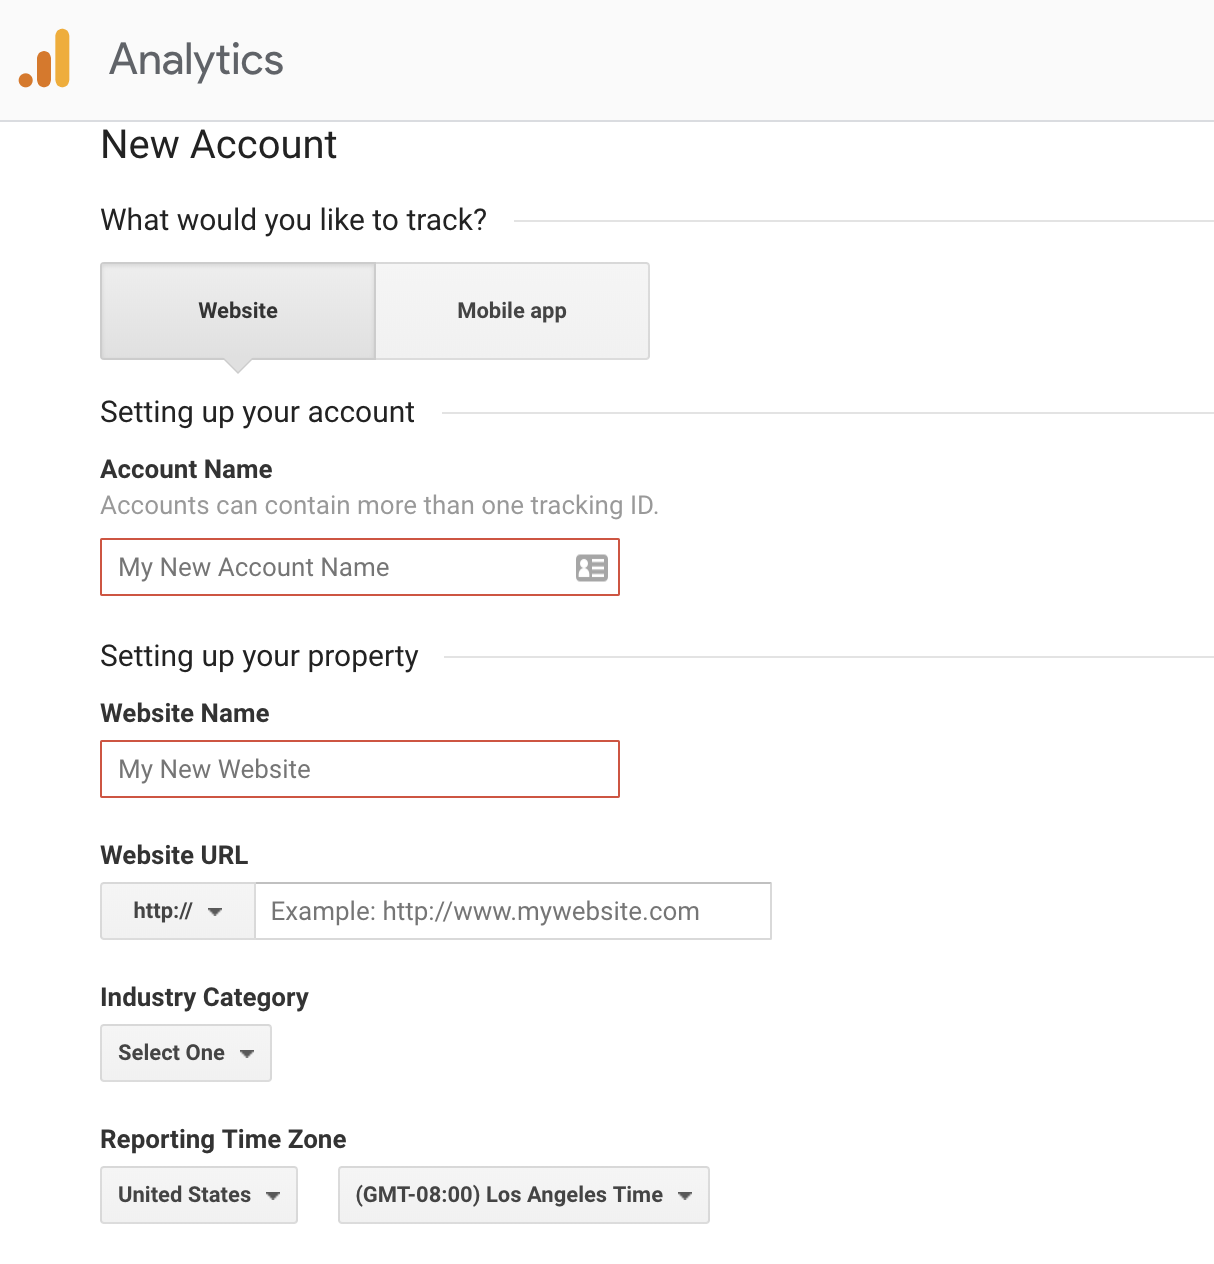
Once you have completed the form fields, click “Get Tracking ID”. Your tracking ID and website tracking code will appear on the next page.Your tracking ID is included in your tracking code — this is what tells Google Analytics which account and property to send the data that is collected to. Depending on the plugin you chose, you may need add this information to the plugin, so it’s a good idea to keep this tab open.

2. Install Your Plugin
Next, you’ll need to actually install your plugin. If you are unsure how to install a WordPress plugin, check out the “Install Your Plugins” section in this WordPress guide.
Once your plugin is installed, click “Settings” and then “Insights” to gain access to your new Google Analytics plugin.

Now that you have installed your plugin, you’ll need to authenticate your Google account through WordPress so Google Analytics can access WordPress.
3. Authenticate Your Google Account
To authenticate your Google account, head to “Insights”, Click “Authenticate with your Google account”.
COMMENTS