
What is Facebook Live? In this post, we'll walk through the following: How to broadcast on Facebook Live via your mobile device How to go live on Facebook from a desktop How to analyze your live video's performance Tips and tricks for getting the most out of the platform. Facebook Live started as a mobile-only broadcasting feature, but now, Facebook Pages can broadcast from either mobile devices or desktop computers. This means only I can see the live video -- none of my Facebook friends or followers can -- but it's set to post the video as a regular Facebook post and as a Facebook Story if I want it to. For example, if we click into "Peak Live Viewers," we'll see this interactive graph of video viewers over time: You can even see who your typical viewer was during your broadcast, based on their Facebook profile information: There are a lot of little things you can do to squeeze the most out of your Facebook Live videos. "Hello, Facebook Live! A big part of what makes Refinery29's live video so great is how much Lucie and her friends embrace the "live," spontaneous nature of it. The more people who Like and share your live broadcast, the more it'll show up in people's News Feeds. So encourage your viewers to comment, and engage with people who are commenting by answering their questions and calling them out by name. The longer you broadcast -- especially as Likes, comments, and shares start coming in -- the more likely people are to discover your video and share it with their friends.
In April 2016, Facebook launched Facebook Live, a live video streaming service that lets anyone broadcast from their mobile devices straight to their Facebook News Feed.
Since its launch, live streaming video has exploded in popularity — particularly on Facebook Live, where according to Vimeo, 78% of online audiences are watching video on Facebook Live as of 2018.
It’s no mystery why Facebook Live is so popular: Videos see 3X the engagement of traditional videos shared on Facebook, and millions of users live stream on Facebook around the world.
What is Facebook Live?
Facebook Live is a feature of the Facebook social network that uses the camera on a computer or mobile device to broadcast real-time video to Facebook. Live broadcasters can decide who on Facebook can see their video and use this content to engage their audience during the moments and events that are important to them.
Why are marketers getting so excited about Facebook Live? Because it’s a fun and fairly simple way for them to use the power of video to communicate their brand stories, and build authentic relationships with fans and followers — in real time.
However, for such a simple concept, Facebook Live has a lot of little nuances that marketers will need to learn if they want to get the most out of the platform. This guide will help you learn the best tricks that can make a big difference in how many people see your live broadcast, how they engage with it, and how it performs.
In this post, we’ll walk through the following:
- How to broadcast on Facebook Live via your mobile device
- How to go live on Facebook from a desktop
- How to analyze your live video’s performance
- Tips and tricks for getting the most out of the platform.

Facebook Live started as a mobile-only broadcasting feature, but now, Facebook Pages can broadcast from either mobile devices or desktop computers. We’ll go over how to broadcast from mobile and desktop devices in the sections below.
The following instructions will teach you how to go live on Facebook mobile. To get started, get out your mobile device and open up the Facebook app.
1. Tap the camera icon to the left of your search bar.
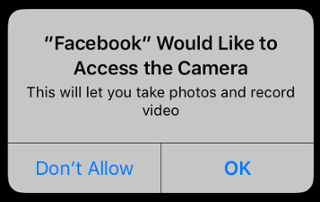
Open your Facebook mobile app and visit your News Feed. You’ll see a camera icon to the left of your search bar — tap it to open your camera. You’ll have to give Facebook permission to access your mobile device’s camera and microphone in order to go live.
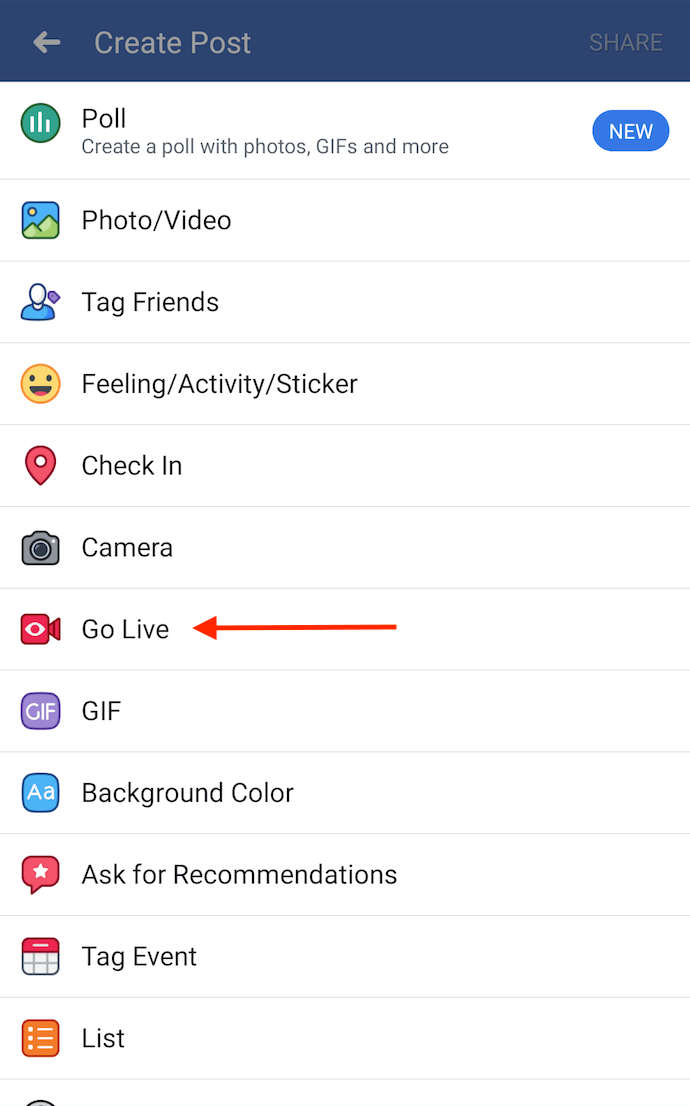
You can also go live on your own Facebook profile. Open up the status bar by tapping the text that reads “What’s on your mind?” Then, select the “Go Live” option from the menu, as shown below.
You’ll stop receiving these prompts after the first time you use it.
Once you permit Facebook to use your mobile camera, you’ll be asked to permit use of your phone’s camera content, as shown below. This will trigger your ability to switch from using your rear-facing camera to your front-facing camera — options that will come into play in step 7 of this guide.
3. Switch to “Live” on the bottom of your camera screen.
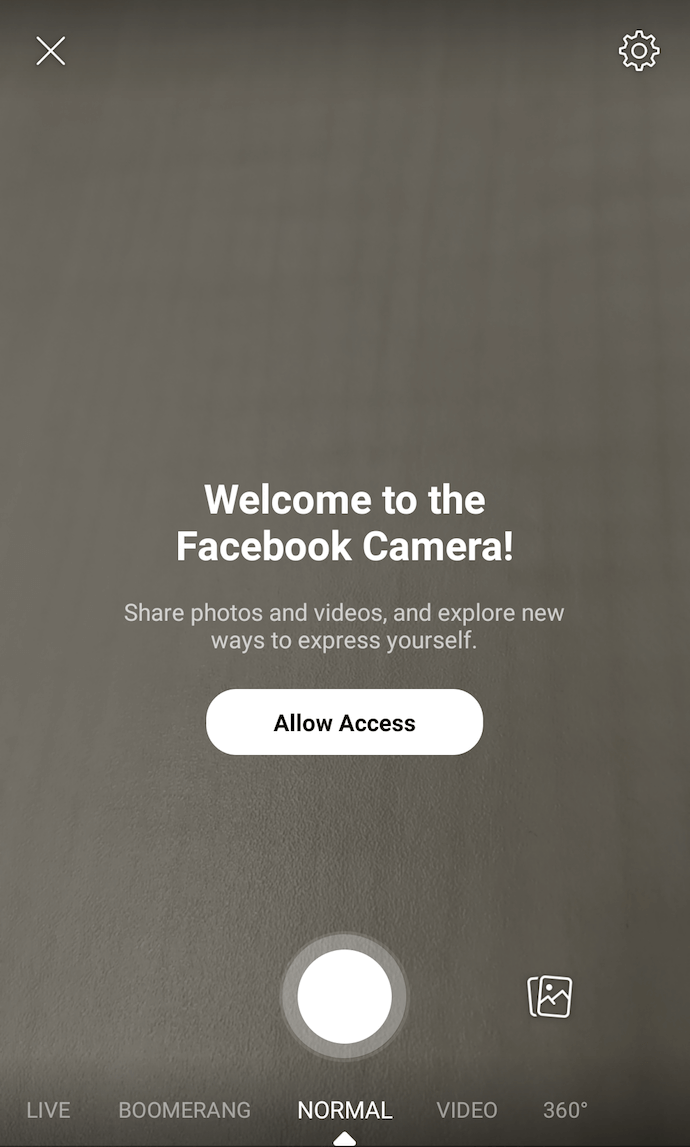
Once you’ve given Facebook access to your mobile device’s camera and microphone, you’ll be ready to shoot. However, your Facebook camera defaults to non-live photo shooting when you open it.
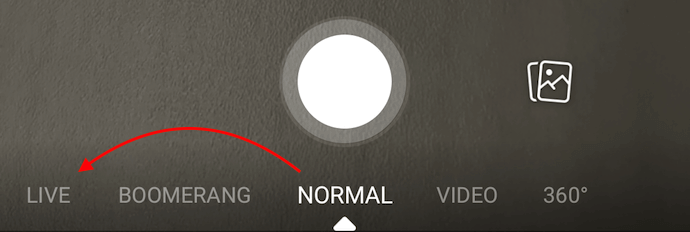
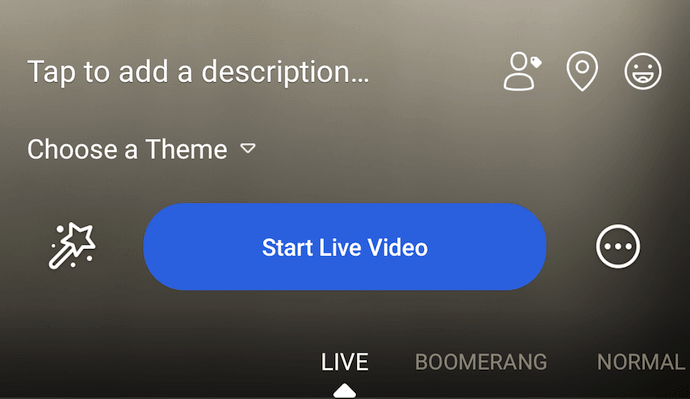
To switch your Facebook camera to live video, look to the bottom of your screen for the various types of visual content you can create. On the far left, as shown below, you’ll see the setting, “LIVE.” Tap it once. (Don’t worry, you won’t go live right away.)
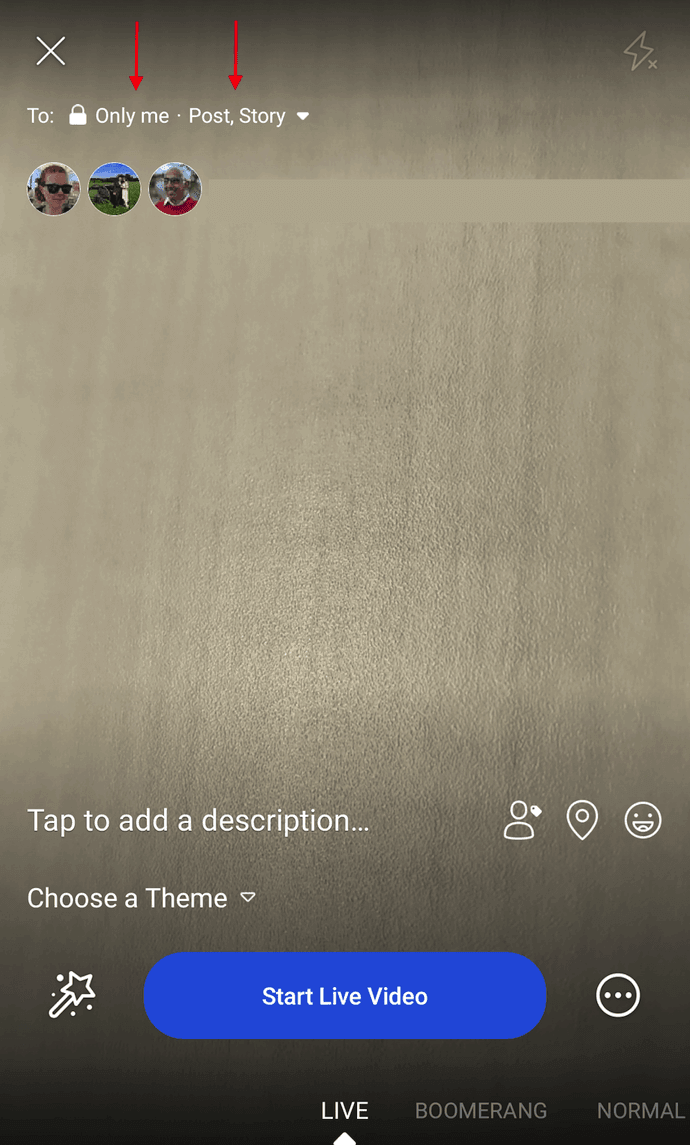
In the screenshot below, see how Facebook Live is set to “Only me” and “Post, Story” at the top of the screen? This means only I can see the live video — none of my Facebook friends or followers can — but it’s set to post the video as a regular Facebook post and as a Facebook Story if I want it to. You can change these settings by tapping on them.
If you’re posting for a brand, you’ll probably want to make it public so it can reach everyone in your audience who’s currently on Facebook. If you’re posting as yourself, you might want to reserve your broadcast for friends — and then set where you want to post this video, as shown below.
But if you’re new to Facebook Live and want to test it out first, or want to prepare your shot before going live, switch your video’s privacy setting to “Only Me.” You can find the “Only me” option by clicking “See More” and tapping the last bubble, per the following screenshot.
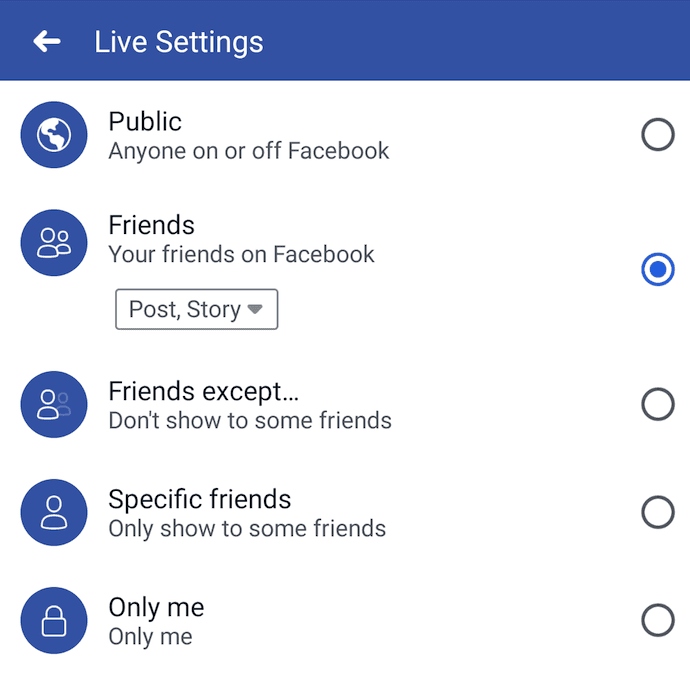
You might also see options to post your live video only to users in specific networks, such as a college or association you belong to. These options will appear below the “Only me” privacy setting.
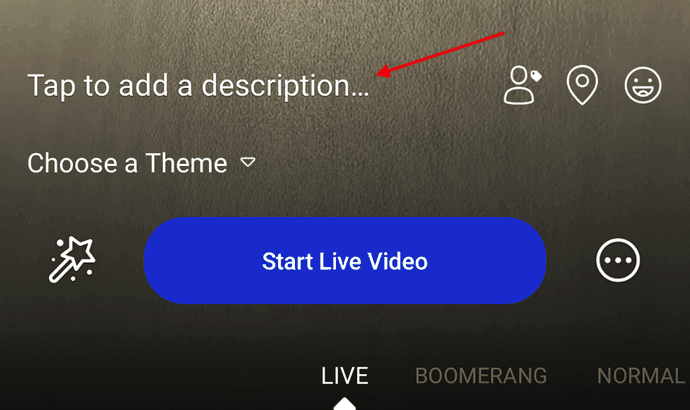
5. Write a compelling description.
Give your broadcast a description, which will show up on people’s News Feeds like a status update above the video. To get people to tune in, write an attention-grabbing headline and help them understand what your broadcast is about.
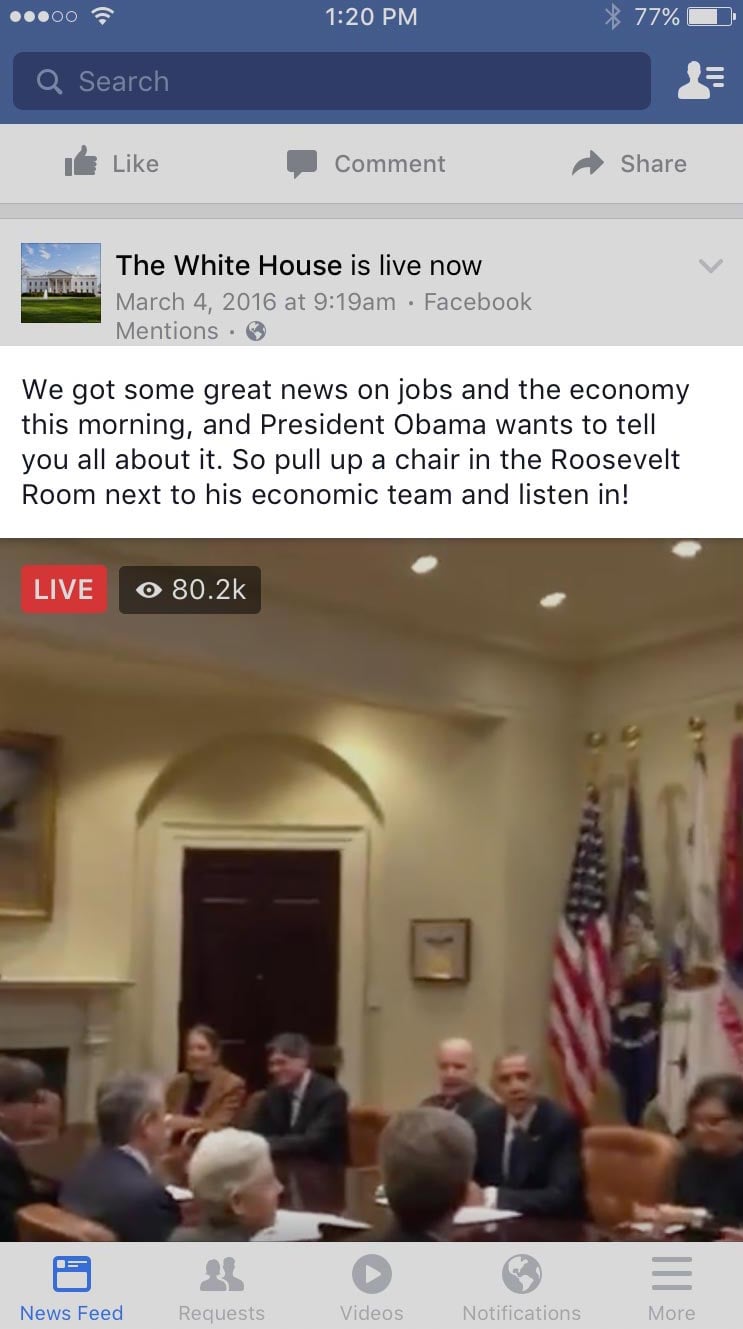
Check out the example below from The White House’s live broadcast. As you can see, your video description appears at the top of the live video when Facebook users view it, much like a Facebook photo caption or status update.
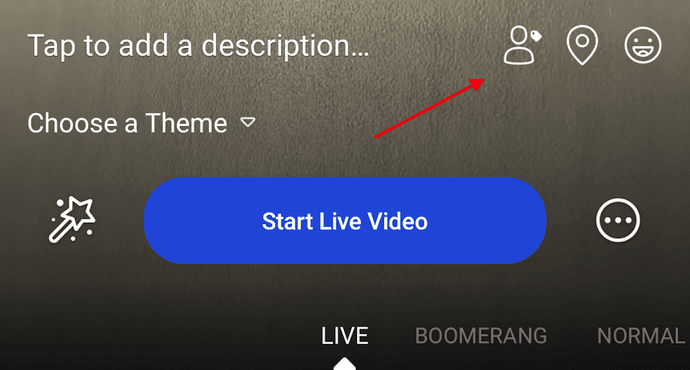
6. Tag friends, choose your location, or add an activity.
Tap the icons at the bottom of your screen to tag people who are in the Facebook Live video, add the location from where you’re shooting, or share what you’re doing in the broadcast. These touches can add more personalization to your video, increase discoverability, and make people want to tune in.
7. Set your camera’s orientation.
Before you click “Start Live Video,” be sure your camera is pointing in the direction you want it to point. In other words, do you want to go live with your front-facing camera lens, or your rear-facing camera lens?
The background of your setup screen will show you what your camera sees. If you want to change the camera view to selfie or vice versa, simply click the rotating arrows icon in the upper-righthand corner of your screen, as shown below.

The video will be a square, so it doesn’t matter whether you hold your mobile device vertically or horizontally.
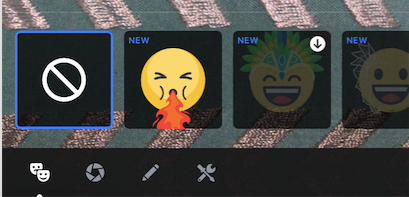
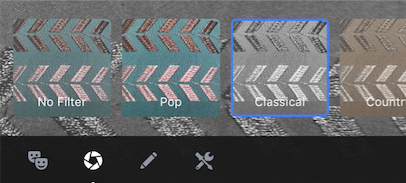
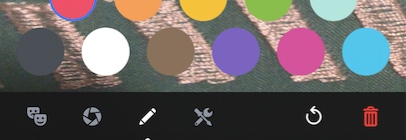
8. Add lenses, filters, or writing and drawing to your video.
Tap the magic wand icon to the left of the blue “Start Live Video” in the center of your screen, and choose if you want to add lenses to your face, change the filter of the camera, or write or draw to make the video more whimsical.
Depending on your version of Facebook mobile, some of your editing and filter options will look like the settings below.
9. Click the blue “Start Live Video” button to start broadcasting.
Once you click it, Facebook will give you a countdown — “3, 2, 1 …” — and then you’ll be live. As soon as you start streaming, your live video will appear in your News Feed — and others’ News Feeds — just like any other post.
Your broadcast can be up to 90 minutes long. Keep in mind that the longer you broadcast, the more people who are scrolling through their News Feeds on Facebook will stumble upon your post.
10. Interact with viewers and commenters.
To keep your viewers engaged, encourage them to interact with your live video (which will help your ranking in others’ News Feeds). You can also interact with them both by speaking directly to them in your video and, if you want, by having someone else respond to comments from a desktop computer elsewhere.
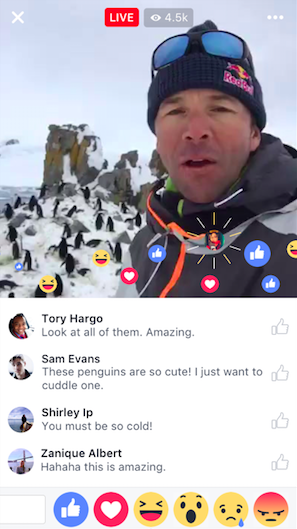
Where can you see these comments? While you’re broadcasting, you’ll see the time elapsed on the top left along with the number of viewers, and comments will show up live on the bottom of your feed. They’ll appear in reverse chronological order, like on Twitter, so keep in mind that the earlier ones may be farther down.
Note: You can also block viewers during a live broadcast by tapping the profile picture next to a viewer’s comment and then tapping “Block.” You can unblock someone you’ve previously blocked, too.
11. Click “Finish” to end the broadcast.
Once you do this, the video will stay on your Timeline or Page like any other video post.
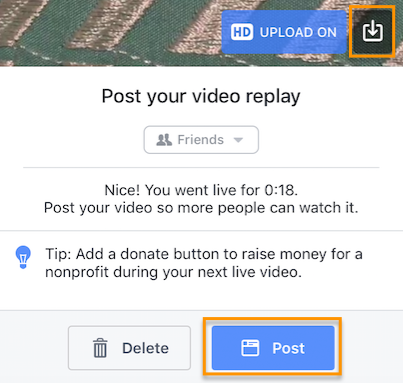
12. Post your reply and save the video to your camera roll.
Once you finish your broadcast, you’ll be met with a screen similar to the one I’ve screenshot below. If you want to post it, that will enable others to view your video once you’ve stopped broadcasting. Then, tap the download button to save the video to your camera roll so you have a copy of the original for safekeeping.
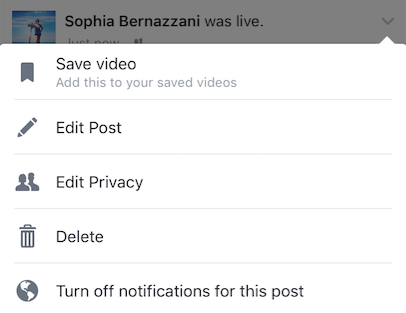
You can always go back to the post on your Timeline or Page and edit the description, change the privacy settings, or delete the video, just like you would any other post.
How to Go on Facebook Live From Desktop
If you’re an admin or editor of a Facebook Page for your brand, you can also broadcast live from a desktop computer. This isn’t as spontaneous as broadcasting from a mobile device (and, obviously, isn’t as mobile), but this could be a good option for filming more static broadcasts. For example, we recently broadcast a Facebook Live panel in celebration of International Women’s Day. The panelists and interviewer sat in place the entire time, an example of when broadcasting from a steadier device could be more effective.
COMMENTS