What Is a Facebook Page? #1: Setting Up a Facebook Page To set up a Facebook page for business, you’ll need to log into your Facebook profile and click the Home button next to your name. You’ll click on Create Page. Next, you’ll choose a page type for your new business page. Keep in mind that each page type has unique category options, and that each category option has unique features, so it’s important not to rush this part; find the right fit. Once you’re done, give your profile image a name and click the Download button. Click the Save button and you’re all set. Giving people the ability to ask questions through Messenger encourages communication, so it’s important to tick the Messages box that shows the Message button on your page. People and Other Pages Settings This gives you a list of pages and people who like your page. Will you create a Facebook page for your business?
Would you like to start a Facebook page for your business but aren’t sure where to begin?
Are you curious about how to manage a page effectively and securely?
In this article, you’ll discover how to build a Facebook page for your business and how to protect it.
What Is a Facebook Page?
A Facebook page is attached to your personal profile so Facebook knows who owns the page, but it’s a separate presence you can use to promote your business, brand, or cause. Because pages are designed for business use, they have a number of features not available on profiles including analytics, advertising, and post scheduling.
To make sure you set up your page for success, take advantage of all of the features available to you.
#1: Setting Up a Facebook Page
To set up a Facebook page for business, you’ll need to log into your Facebook profile and click the Home button next to your name. Next, click on the Pages tab in the Explore section of the left-hand sidebar of your profile home page.
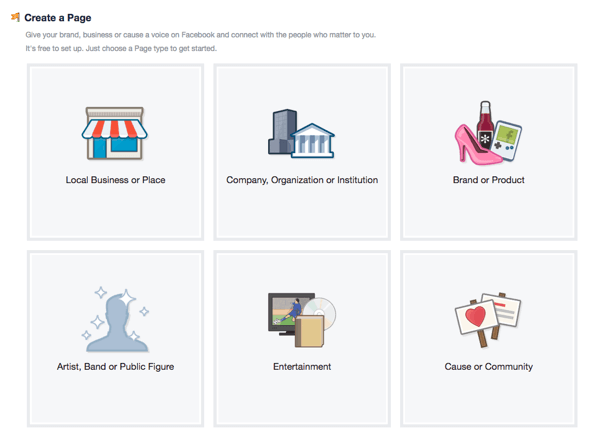
Clicking on this takes you to the main Pages area where you can view top page suggestions, explore invites to other pages, view pages you’ve liked, see the pages you’re already managing, or create a new page. You’ll click on Create Page.
Next, you’ll choose a page type for your new business page. There are six options:
- Local Business or Place
- Company, Organization or Institution
- Brand or Product
- Artist, Band or Public Figure
- Entertainment
- Cause or Community
Each page type has a drop-down menu with an extensive list of categories.
Choosing the right page type for your business may seem straightforward at first, but after glancing at the categories, you may find that your business fits into a different page type than you had originally thought.
Keep in mind that each page type has unique category options, and that each category option has unique features, so it’s important not to rush this part; find the right fit.
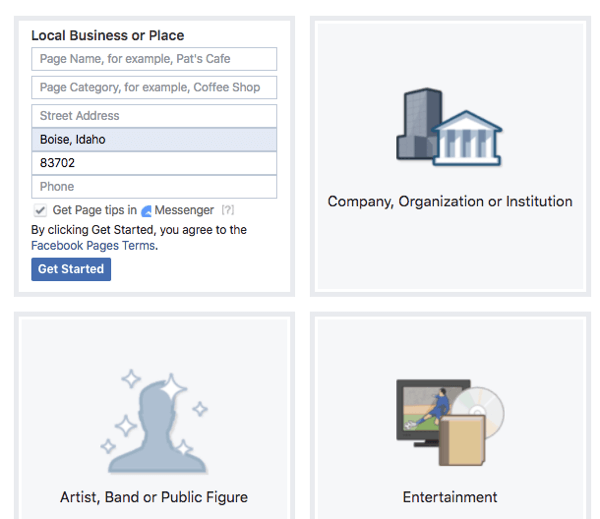
After browsing the page type categories, choose the Facebook page type and category that will be the best option for now. If you change your mind after the page publishes, you can always go back and change the category.
Fill out the name of your new page along with any other requested information fields, click Get Started, and you’ll be taken to your new page!

You’ll see a prompt list with tips and ideas designed to help you create a great page before you start inviting people to like it.
At this point, you’ll want to unpublish your page so you can work on it out of the public eye. Click on Settings in the top navigation bar and open the Page Visibility row in General Settings. Change the visibility to Page Unpublished, and click Save Changes. Now you can build your page and unveil it when it’s complete.

#2: Design and Add a Profile Picture to Your Facebook Page
Your profile photo for your business page can be any number of things:
- A photo of a physical product you sell
- A professional photo of yourself if you’re the face of your business
- Your logo
Whatever you choose, keep the composition simple so it’s easily recognized.
Your profile photo should be 180 x 180 pixels to ensure all of the details of the image are present. You can easily create the right size using a free tool like Canva.com.
Inside Canva, click Create a Design and choose the Use Custom Dimensions option.
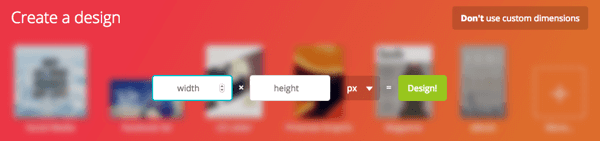
Type in 180 x 180 px and click on the Design button to reach the design page. Here you’ll upload your own image.
Resize your image so it fits within the square and looks the way you want. Once you’re done, give your profile image a name and click the Download button.
Now you’re ready to upload your newly created profile image to Facebook, so head back over there and click on Add a Picture in the prompt list. While you have the option to take a photo with your computer’s camera, you’ll choose the Upload Photo option. Now, simply follow the prompts to upload your new profile picture.
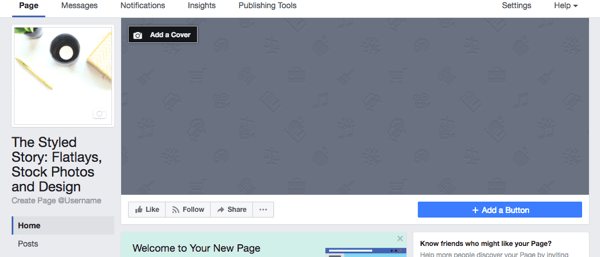
#3: Create and Add a Cover Photo for Your Facebook Page
With the exception of changing dimensions, you’ll go through the same process as above to create a cover photo; the dimensions for a Facebook cover photo are 828 x 315 px.
Something to keep in mind is that the mobile-friendly area is within the 560 x 315 px area, so if you want to add words to your cover photo by adding a text overlay, make sure it will be visible across all devices.
When your image is ready, click on the Add a Cover button in the upper-left corner of the Cover Photo space, and then click Upload Photo. You can drag the image to position it correctly and when you’re happy with how things look, click the Save button.
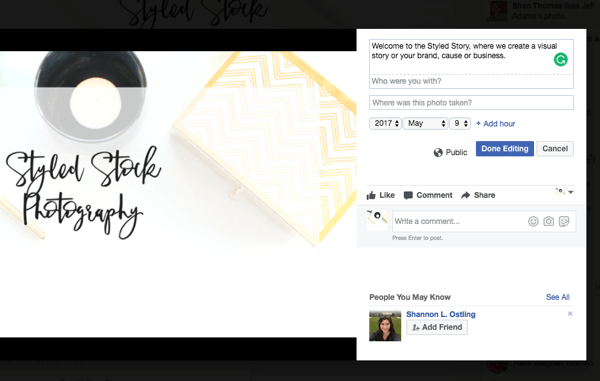
After uploading your cover photo, click on the image to fill out the description. This is a valuable piece of real estate on your page, so make sure to utilize this area to share a tagline or a price point, and to include a link to your website or a product landing page.
Then, if someone clicks on your cover photo, they’ll find out even more about the page or your business.
#4: Add a Call-to-Action Button to Your Facebook Page
Adding a call-to-action button to your page gives people an easy way to do things like sign up for your giveaway or newsletter, buy something, and so forth.
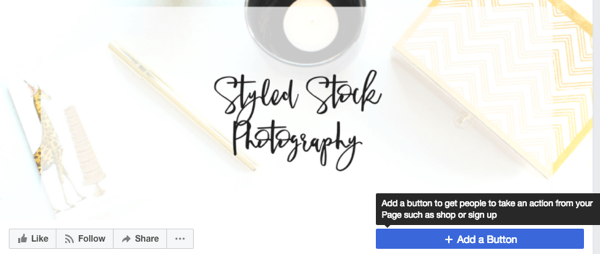
Once you click on Add a Button, which is located just under the right corner of your cover photo, you’ll be prompted to choose from seven types of standard buttons.
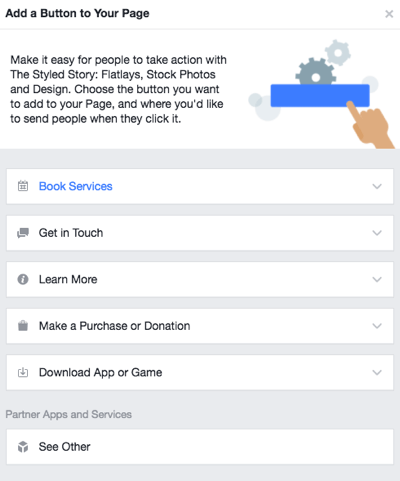
The Book Services option has two buttons.
- The Book Now button lets people book travel or an appointment with you.
- The Start Order button lets people order food from you.
The Get in Touch option has five buttons.
- The Call Now button lets…
COMMENTS